

As a supplier of Ultrasonic Cleaner Braces, I've received numerous inquiries about replacing parts of these cleaners. In this blog, I'll guide you through the process of replacing the parts of an ultrasonic cleaner for braces, providing you with detailed steps and tips to ensure a smooth replacement.
Understanding the Ultrasonic Cleaner for Braces
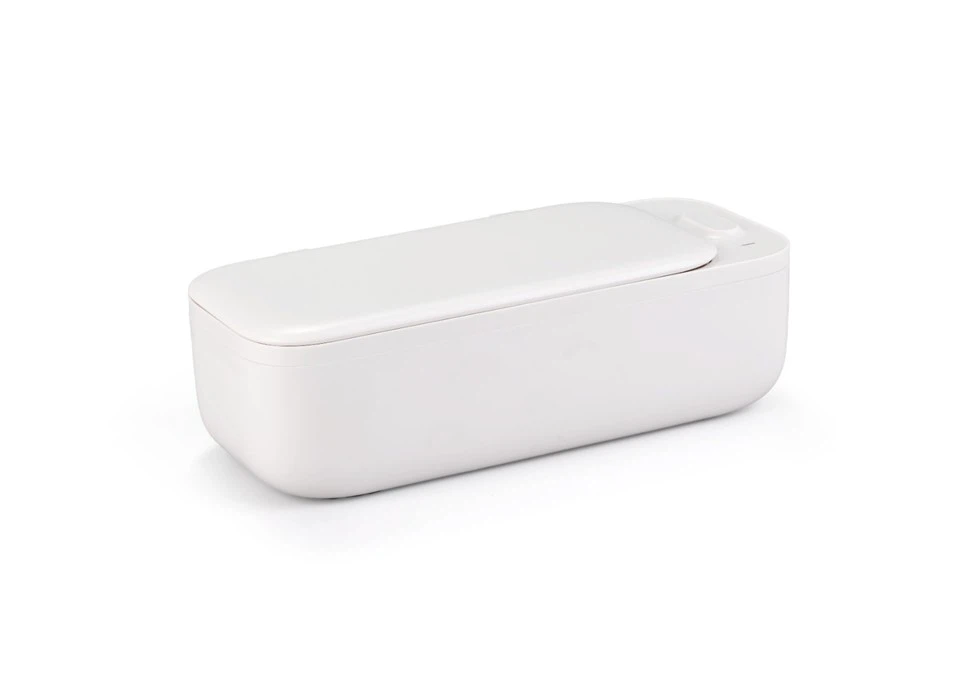
Before we delve into the replacement process, it's essential to understand the basic components of an ultrasonic cleaner for braces. These cleaners typically consist of a tank, a transducer, a control panel, and a power cord. The tank holds the cleaning solution, while the transducer generates ultrasonic waves that create tiny bubbles. These bubbles implode upon contact with the braces, effectively removing dirt and debris. The control panel allows you to adjust the cleaning time and temperature, and the power cord provides the necessary electricity to operate the cleaner.
Identifying the Parts That Need Replacement
The first step in replacing the parts of an ultrasonic cleaner for braces is to identify which parts need to be replaced. Common parts that may need replacement include the transducer, the control panel, the power cord, and the tank. If the cleaner is not producing ultrasonic waves, the transducer may be faulty. If the control panel is not functioning correctly, it may need to be replaced. A frayed or damaged power cord should also be replaced for safety reasons. And if the tank is cracked or leaking, it will need to be replaced.
Tools and Materials Needed
To replace the parts of an ultrasonic cleaner for braces, you'll need a few tools and materials. These may include a screwdriver, pliers, a multimeter, and replacement parts. You can purchase replacement parts from our website, Ultrasonic Cleaner Braces. Make sure to choose the right parts for your specific cleaner model.
Step-by-Step Guide to Replacing Parts
Replacing the Transducer
- Unplug the cleaner: Before you start any work on the cleaner, make sure it is unplugged from the power source to avoid electrical shock.
- Remove the bottom cover: Use a screwdriver to remove the screws holding the bottom cover of the cleaner in place. Carefully lift off the cover.
- Locate the transducer: The transducer is usually located at the bottom of the tank. It is a small, round device that is attached to the tank.
- Disconnect the wires: Use pliers to carefully disconnect the wires from the transducer. Make sure to note the position of each wire so that you can reconnect them correctly later.
- Remove the transducer: Use a screwdriver to remove the screws holding the transducer in place. Carefully lift the transducer out of the tank.
- Install the new transducer: Place the new transducer in the same position as the old one. Secure it with the screws.
- Reconnect the wires: Reconnect the wires to the new transducer, making sure to connect them in the same position as before.
- Replace the bottom cover: Place the bottom cover back on the cleaner and secure it with the screws.
Replacing the Control Panel
- Unplug the cleaner: As always, unplug the cleaner from the power source before starting any work.
- Remove the front panel: Use a screwdriver to remove the screws holding the front panel of the cleaner in place. Carefully lift off the panel.
- Locate the control panel: The control panel is usually located behind the front panel. It is a small circuit board with buttons and a display.
- Disconnect the wires: Use pliers to carefully disconnect the wires from the control panel. Make sure to note the position of each wire so that you can reconnect them correctly later.
- Remove the control panel: Use a screwdriver to remove the screws holding the control panel in place. Carefully lift the control panel out of the cleaner.
- Install the new control panel: Place the new control panel in the same position as the old one. Secure it with the screws.
- Reconnect the wires: Reconnect the wires to the new control panel, making sure to connect them in the same position as before.
- Replace the front panel: Place the front panel back on the cleaner and secure it with the screws.
Replacing the Power Cord
- Unplug the cleaner: Unplug the cleaner from the power source.
- Locate the power cord: The power cord is usually connected to the back of the cleaner.
- Disconnect the power cord: Use pliers to carefully disconnect the power cord from the cleaner.
- Install the new power cord: Connect the new power cord to the cleaner, making sure to connect it securely.
- Test the cleaner: Plug the cleaner back into the power source and test it to make sure it is working correctly.
Replacing the Tank
- Unplug the cleaner: Unplug the cleaner from the power source.
- Drain the cleaning solution: Carefully pour out the cleaning solution from the tank.
- Remove the tank: Use a screwdriver to remove the screws holding the tank in place. Carefully lift the tank out of the cleaner.
- Install the new tank: Place the new tank in the same position as the old one. Secure it with the screws.
- Add the cleaning solution: Pour the cleaning solution into the new tank.
- Test the cleaner: Plug the cleaner back into the power source and test it to make sure it is working correctly.
Tips for a Successful Replacement
- Read the manual: Before you start replacing any parts, make sure to read the user manual for your ultrasonic cleaner. The manual will provide you with specific instructions and safety guidelines.
- Use the right tools: Make sure to use the right tools for the job. Using the wrong tools can damage the parts and make the replacement process more difficult.
- Take your time: Replacing parts of an ultrasonic cleaner can be a delicate process. Take your time and make sure to follow the steps carefully.
- Test the cleaner: After replacing a part, make sure to test the cleaner to make sure it is working correctly. If you encounter any problems, refer to the user manual or contact our customer support team.
Conclusion
Replacing the parts of an ultrasonic cleaner for braces is a relatively simple process that can be done at home with the right tools and materials. By following the steps outlined in this blog, you can ensure a smooth and successful replacement. If you have any questions or need further assistance, please don't hesitate to contact us. We are a leading supplier of Ultrasonic Cleaner Braces, Mini Household Ultrasonic Cleaner, and Earring Ultrasonic Cleaner. We are committed to providing high-quality products and excellent customer service. If you are interested in purchasing our products or have any questions about our ultrasonic cleaners, please feel free to contact us for a purchase negotiation.

References
- Manufacturer's user manual for the ultrasonic cleaner.
- Online resources on ultrasonic cleaner repair and maintenance.